
Hello Office Insiders! I’m Steve Kraynak, a Product Manager on the Excel team. I’m excited to share with you the availability of a new feature that enables you to turn images with table data into data that you can edit in Excel: Data from Picture!
Data from Picture
Have you ever had to type data from a printed page into Excel? Wouldn’t it be a lot easier if you could take a picture, and then have Excel do the tedious work of inputting the data for you? Of course it would!
With the new Data from Picture feature in Excel for Windows, you can insert data from a picture on your clipboard or an image file from your computer. There’s no need to type all the data—Excel can do it for you!
How it works
1. Use one of the options below to capture the content you want to digitize:
-
-
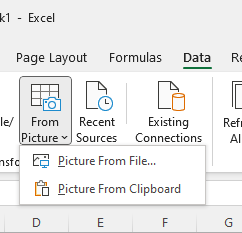
- Select Data > From Picture > Picture From File.
-
- Copy an image of a table to your clipboard. For example, take a screenshot of a table by pressing Windows+Shift+S. Then select Data > From Picture > Picture From Clipboard.
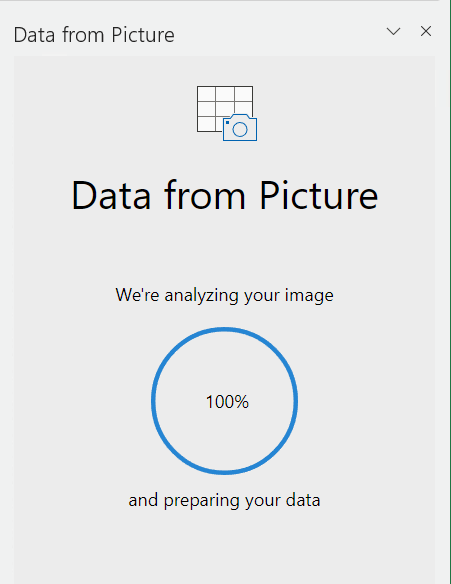
2. After you have captured the picture of the content you want to bring into Excel, the Data from Picture pane appears. This shows you the progress as the image is being analyzed.
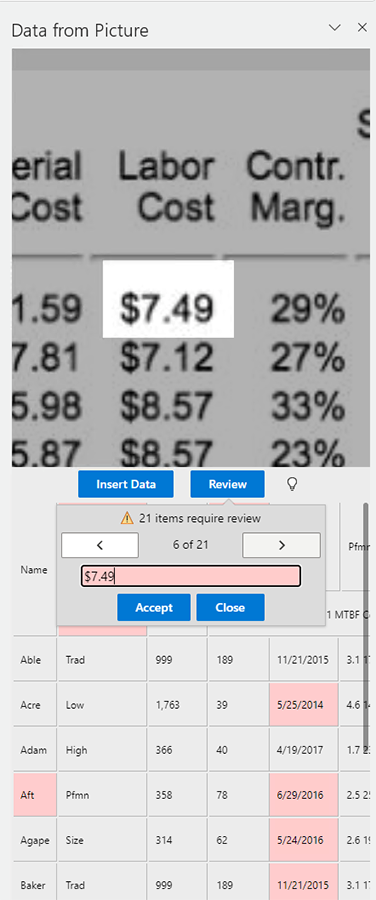
3. Review the results and make any corrections necessary, and then select Insert Data. The data is now in your Excel worksheet!
Scenarios to try
- Screen capture a table from a website. If you’ve ever tried to copy and paste data from a website, you’ve likely noticed that it often results in formatting discrepancies. Instead, capture an image of the table (by pressing Windows+Shift+S), then select Data > From Picture > Picture From Clipboard. Then, follow the instructions on the screen; you should get just what you’re looking for.
- Take a picture of some printed data. Maybe you’d like to get data from your previous tax returns into Excel and you only have printed copies. No problem. Just take a picture of each one and transfer the pictures to your Windows computer (OneDrive is great for this). Then select Data > From Picture > Picture From File. Follow the on-screen instructions to convert the picture to data.
Requirements
This feature supports the following languages (and recognizes these character sets): English, Bosnian, Croatian, Czech, Danish, Dutch, Finnish, French, German, Hungarian, Italian, Norwegian, Polish, Portuguese, Romanian, Serbian, Slovak, Slovenian, Spanish, Swedish, and Turkish.
Availability
The Data from Picture feature is rolling out to Office Insiders running Beta Channel Version 2207 (Build 15402.20002) or later.
UPDATE (12/1/22): The Data from Picture feature is available to Microsoft 365 subscribers running Version 2210 (Build 15723) or later. Learn more: https://support.microsoft.com/office/insert-data-from-picture-3c1bb58d-2c59-4bc0-b04a-a671a6868fd7.”
-
-
Don’t have it yet? It’s probably us, not you.
We typically release features over some time to ensure that things are working smoothly. This is true for Insiders as well. We highlight features that you may not have, because they’re slowly releasing to larger numbers of Insiders. Sometimes we remove elements to further improve, them based on your feedback. Though this is rare, we also reserve the option to pull a feature entirely out of the product, even if you, as an Insider, have had the opportunity to try it.
Feedback
We hope you love this powerful new way to get data into Excel with ease, and we’d love to hear what you think about it. Please select Help > Feedback in Excel and let us know.
Learn what other information you should include in your feedback to ensure that it’s actionable and reaches the right people. We’re excited to hear from you!
Sign up for the Office Insider newsletter and get the latest information about Insider features in your inbox once a month!