
Hey, Office Insiders! My name is Aparna Jethani, and I’m a Product Manager on the Office Video team. Previously we let you know about cameo, which you can use to insert a live camera feed into your presentation. Today, we’re excited to announce that cameo is now available with Recording Studio, allowing you to personalize your recorded video stories with a custom camera feed in PowerPoint for Windows.
Cameo with Recording Studio
With Recording Studio in PowerPoint, you can easily create and share videos of your presentation and get your message across in your own words. By leveraging the power of cameo with Recording Studio, you can now also use the camera feed to make the video recording of your presentation even more personal and create an immersive storytelling experience.
You can also customize your camera feed’s appearance before you record. Apply your favorite camera styles, shapes, and sizes to cameo, and choose the place on the slide for your camera feed that best suits your presentation.
How it works
1. Open an existing presentation that you want to record and share.
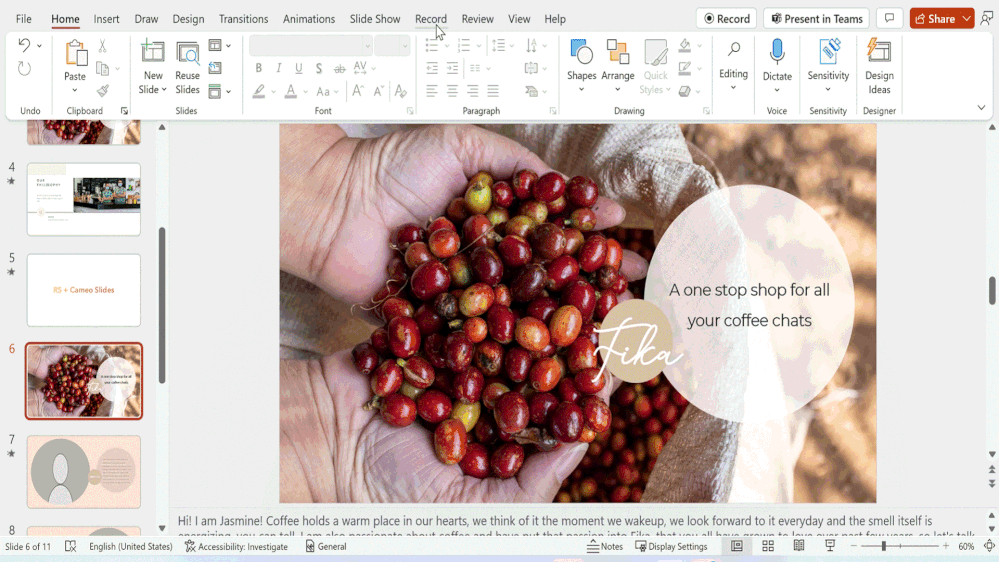
2. On the Record tab, select Cameo to add your custom camera feed to the slides.

3. Select Camera to apply styles, change the size of your camera, and place it exactly where you want. Select Preview to review the camera settings before you record.
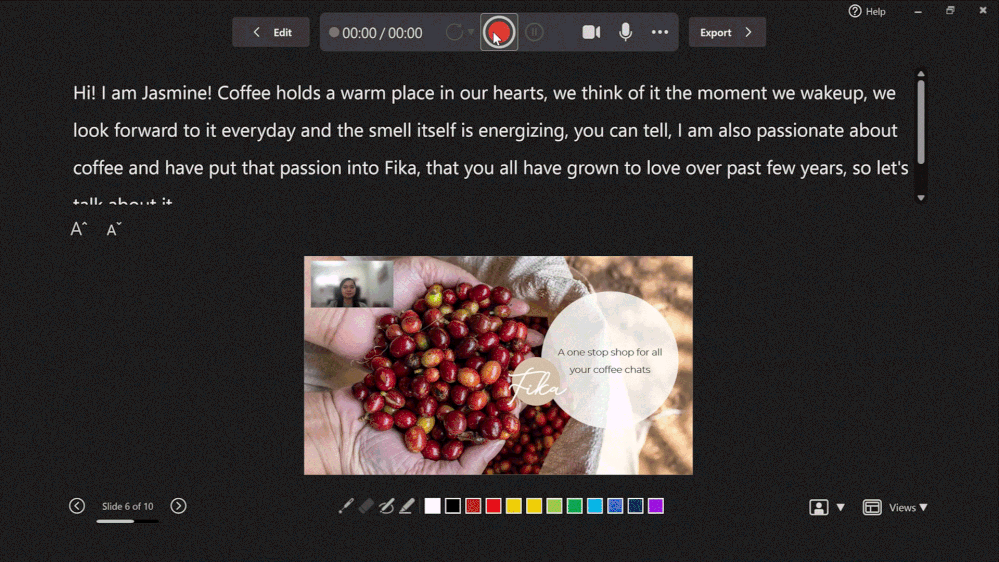
4. When you’re ready, select Record and make a video recording of your presentation.

5. To review your video, click the Play preview button and use the seek bar to move forward and rewind.
![]()
6. If you’re not satisfied, select Retake recording, then choose On Current Slide or On All Slides.

7. When you’re happy with your recording, select Export. In the Export window, enter a file name, then select Export Video.
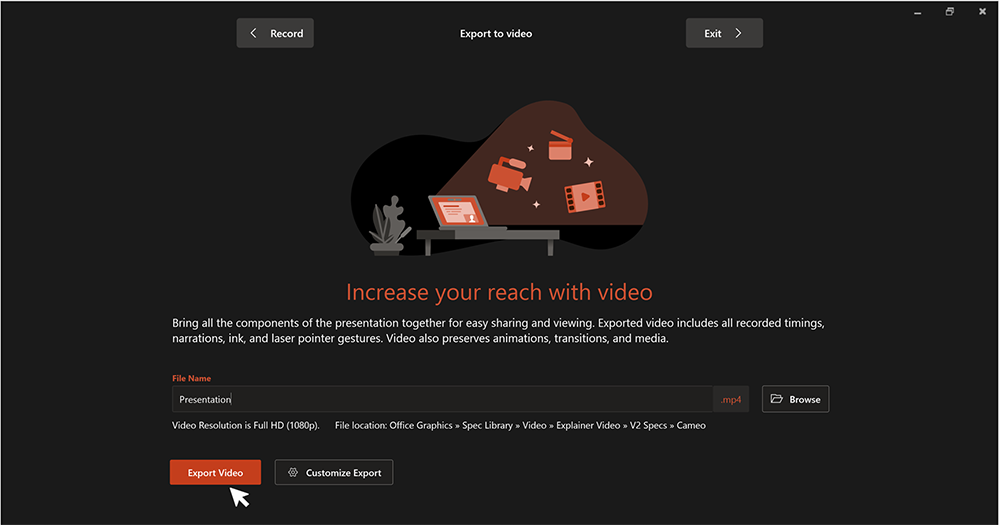
NOTE: By default, your video will be exported in full 1080p resolution to the same location as your presentation. Select Customize Export to choose a different resolution or location.
Tips and tricks
- Impress your audience with creative storytelling by trying out different text and camera layouts, such as adding text in front or behind your camera feed.
- Creatively create an engaging story using the power of transitions via the Transitions tab—such as Morph, Fade, and Wipe—when moving from slide to slide.

- Try the Design Ideas feature to get helpful recommendations on where to place the camera feed on your slides.
Requirements
- You must have a computer equipped with a webcam and microphone to use cameo in Recording Studio in PowerPoint.
- You must have granted camera permissions to PowerPoint in your computer’s privacy settings.
Availability
This feature is rolling out to Office Insiders running Beta Channel Version 2207 (Build 15425.20000) or later.
Don’t have it yet? It’s probably us, not you.
Features are released over some time to ensure things are working smoothly. We highlight features that you may not have because they’re slowly releasing to larger numbers of Insiders. Sometimes we remove elements to further improve them based on your feedback. Although this is rare, we also reserve the option to pull a feature entirely out of the product, even if you, as an Insider, have had the opportunity to try it.
Feedback
We hope you love this PowerPoint feature. To submit feedback, please click Help > Feedback and let us know what you think!
Learn what other information you should include in your feedback to ensure it’s actionable and reaches the right people. We’re excited to hear from you!
Sign up for the Office Insider newsletter and get the latest information about Insider features in your inbox once a month!