
Hi, Microsoft 365 Insiders! My name is Abhinav Santoshi and I’m a Product Manager on the Office Voice team. I’m excited to share with you the availability of the Transcribe feature you love in Word for Windows.
Transcribe in Word for Windows
Tired of manually transcribing audio recordings from meetings, interviews, and lectures? Look no further! The highly anticipated Transcribe feature is now available in Word for Windows. It allows you to convert speech to a text transcript, with each speaker individually separated.
Imagine being able to focus on delivering a speech, conducting an interview, recording a lecture, taking class notes, or attending a presentation, all while knowing you can listen back and read the transcript afterwards. The Transcribe feature also allows you to play back timestamped audio and edit the transcript to make corrections. Plus, you can save the full transcript as a Word document or insert snippets of it into existing documents.
How it works
You can transcribe speech in two ways:
- Record directly in Word
- Upload an audio file
Record in Word
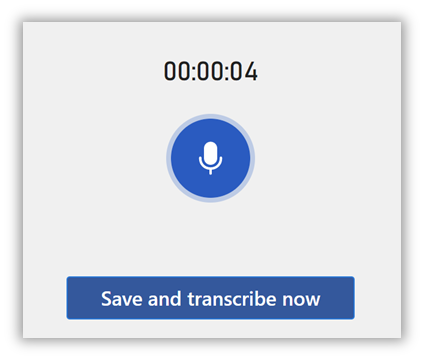
You can record directly in Word while taking notes, and then transcribe the recording. Word transcribes in the background as you record. You’ll see the transcript after you click the Save and transcribe now button.
- If it is your first-time transcribing, give the Word app permission to use your mic. How to set up and test microphones in Windows (microsoft.com)
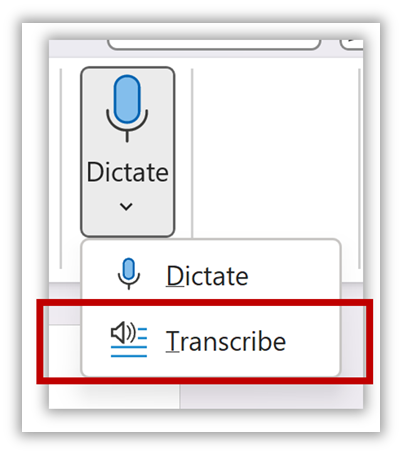
- Go to Home > Dictate > Transcribe.
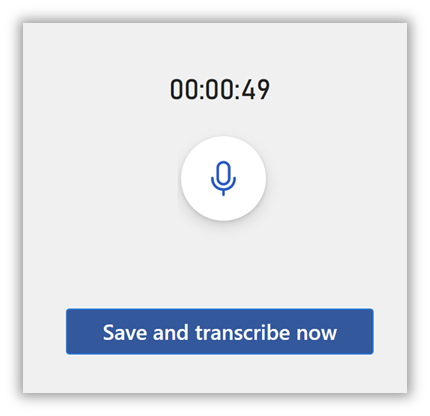
- In the Transcribe pane, select the Start recording button.
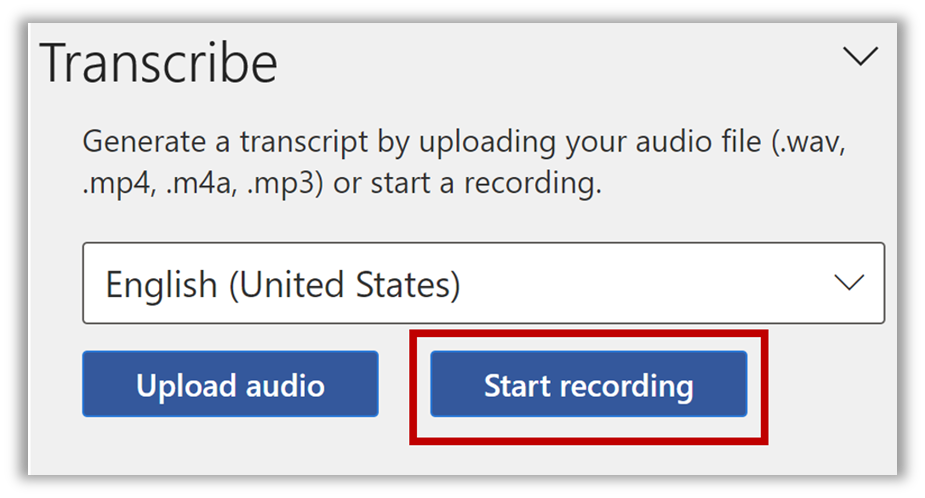
- Start talking or begin a conversation with another person, or start recording a lecture. Be sure to speak clearly or make sure the incoming audio is clear.
- When finished, click the Save and transcribe now button to save your recording to OneDrive and start the transcription process.
NOTE: The OneDrive account where your audio is being uploaded will be shown in transcription pane. Currently you can only create one new transcription per page.
Upload an audio file
You can upload a pre-recorded audio file to transcribe the recording. This is useful when you want to refer to a past lecture or training session and be able to listen to the content again.
- Go to Home > Dictate > Transcribe.
- In the Transcribe pane, select the Upload audio button.
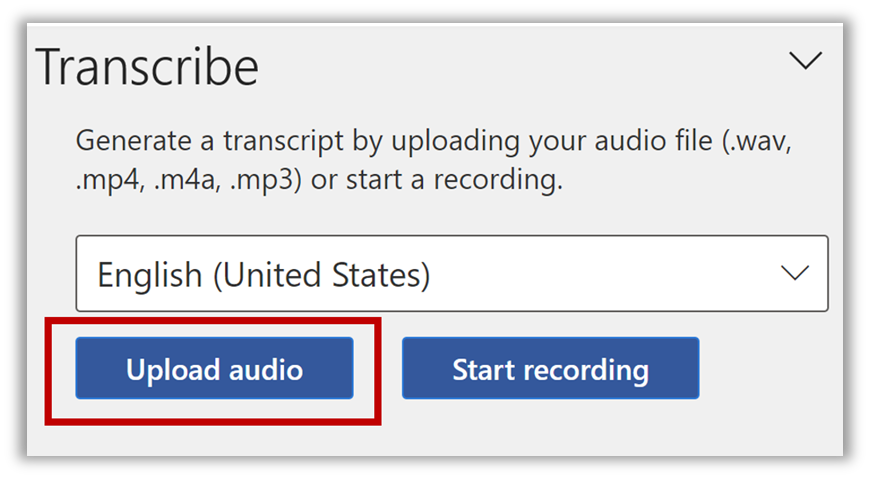
- Choose an existing audio file from the file picker, and then click the Open button.
NOTE: Transcribe currently supports the .wav, .mp4, .m4a, and .mp3 formats.
Scenarios to try
Play and Pause recording
- Pause the recording by selecting the Pause (Active Mic) button.
- Resume recording by selecting the Record (Inactive Mic) button.
 Play back the audio
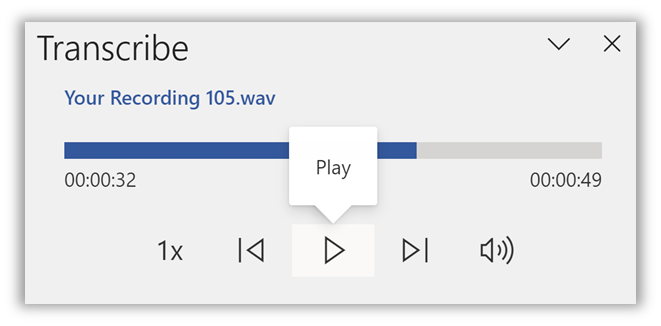
- Open the Word document that contains the transcribed recording and select Home > Dictate > Transcribe.
- Press the Play button to start playing back your recording.
 Press the Pause button to stop playing back your recording.
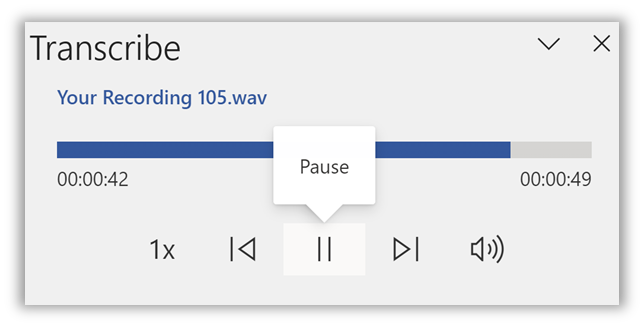
Notice that the relevant transcript section is highlighted as the audio plays. You can also easily jump to a specific moment in your recording by clicking the timestamp to recall more context.
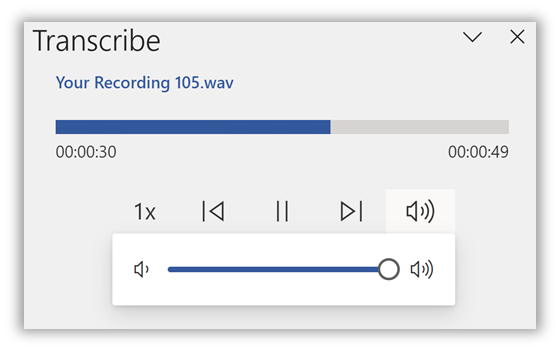
Adjust the volume and the playback speed
Relabel a speaker or edit a section
- The transcription service identifies and separates different speakers and labels them Speaker 1, Speaker 2, and so on.

NOTE: You can edit the speaker label and change all occurrences of it to something else.
- You can also edit the content of a section to correct any issues in transcription.
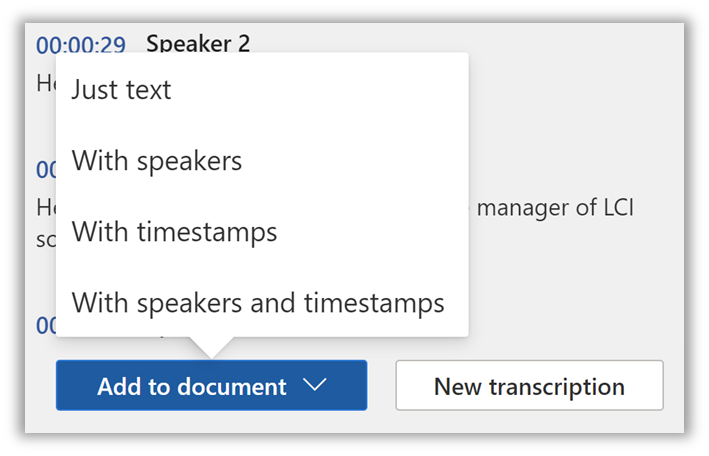
Add a transcript to the page
From the Transcribe pane, you can add the entire transcript, or specific sections of it, to your Word document.
Requirements
- Active Microsoft 365 subscription. NOTE: No entry point into the Transcribe will be available unless you are a Microsoft 365 subscriber.
- Have a stable internet connection.
- Transcribe is not available for GCC/GCC-H/DOD customers.
Privacy
This feature does not store your content or audio data. Microsoft only uses your content to provide you with audio results. For more information about experiences that analyze your content, see Connected Experiences in Office.
List of supported languages
Transcribe experience works with 80+ locales:

Availability
This feature is rolling out to Beta Channel users running Version 2302 (Build 16107.20000) or later.
Don’t have it yet? It is probably us, not you.
Features are released over some time to ensure things are working smoothly. We highlight features that you may not have because they are slowly releasing to larger numbers of Insiders. Sometimes we remove elements to further improve them based on your feedback. Though this is rare, we also reserve the option to pull a feature entirely out of the product, even if you, as an Insider, have had the opportunity to try it.
Feedback
We want to hear from you! Please share your feedback about the Transcribe experience with us right from the app by tapping the File > Send Feedback button in the app window.
Learn what other information you should include in your feedback to ensure it is actionable and reaches the right people. We are excited to hear from you!